
 My next in what is becoming a series of friendship bracelet tutorials is a simple chevron patterned bracelet that can be done is so many colour variations they hardly ever look the same.
What You Need:
6x 60 inch strands of embroidery thread in the colours you want to use
Scissors
Tape
1: To start you need to cut your thread to 60 inches and holding them all together fold in half. Then tie knot leaving about an inch loop so now you have double the amount of strands of each colour.
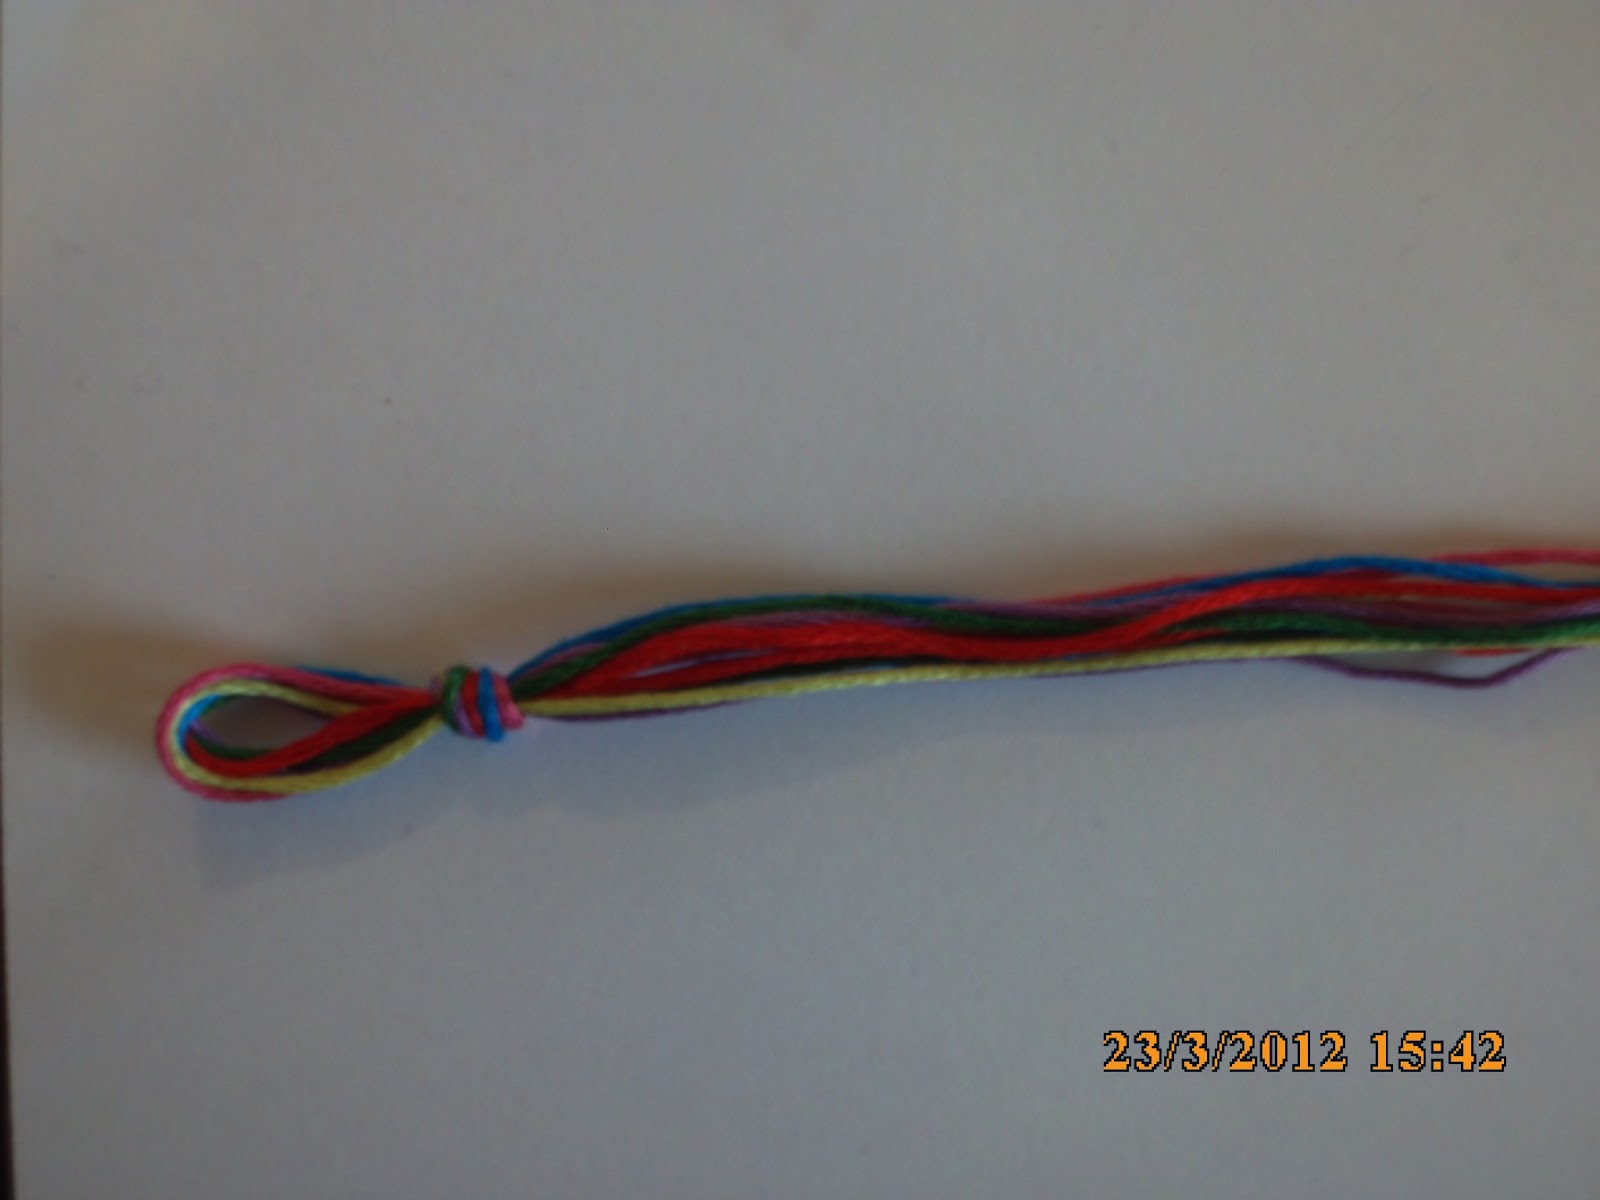
2: I find it best to tape down the loop to my work surface so I can get a good tight knot when Im working the pattern.


4: So we are starting with the left side and I find it easier at the start to push the right side strings away so as not to mix any into the pattern. After the first row or two the strings sit in place so this wont be necessary.


6: You then bring the green behind the purple and back out in front of the purple.


8: Now push the 6 left colours aside and we are working on the right six starting out on the right with the green string. Bring the green string over the purple in a backwards looking number 4.

9: Like before bring the green around the purple and back out over the purple string.

10: Again do a double knot and work all the way out towards the pink until you now have the two green strings beside each other in the middle.

11: To join the two sides do a backwards number 4 style knot bringing the right hand string over the left. This is your first row done. The bracelet is continued starting back on the left only now using the purple string and so on until you have reached the length you are happy with. At the end you can just braid the loose string and it can be tied through the loop onto your wrist.

ENJOY!!!
I like this pattern and will definitely try it out. Thanks for the great tutorial!
ReplyDeleteThank you for the lovely comment I would love to know how you get on!
DeleteThanks for these tutorials! They're really well done.
ReplyDeleteAh thank you I think my photography skills are getting better haha
DeleteGreat tutorial! Thanks for visiting my blog. I’m part of the bead soup party and looking forward to the reveals. I'm now following you. I have a new blog. Please consider following my jewelry blog. Thanks.
ReplyDeletehttp://vintagememoriesjewelry.blogspot.com
I've recently made this bracelet following your instructions: they're very good. Thank you for this tutorial. Happy Easter!
ReplyDeleteThank you for the lovely comment Im glad you liked it!
Delete